
Installing Pfsense
Download Pfsense ISO file here Pfsense
- Click
Create a New Virtual Machineon VMware Workstation Home Screen.![2023-08-13 07_53_52-VMware Workstation.png]()
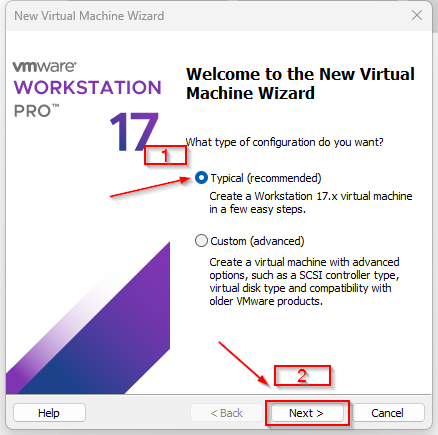
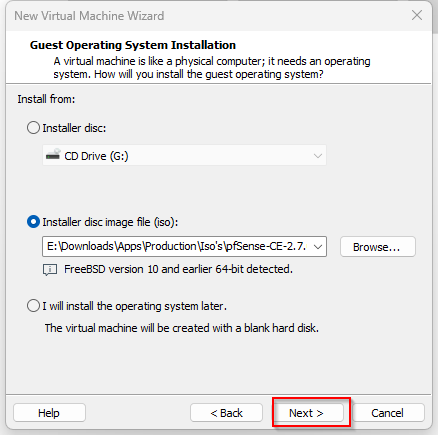
- Make sure that “Typical (recommended)” is selected and click
Next![2023-08-13 07_59_52-New Virtual Machine Wizard.png]()
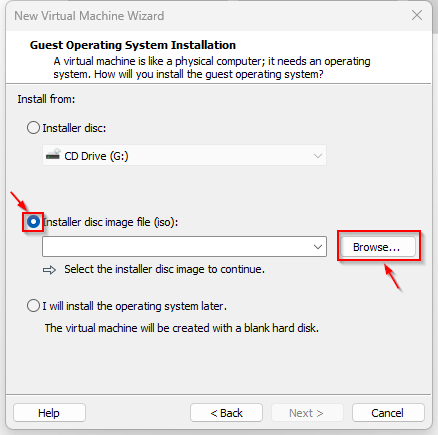
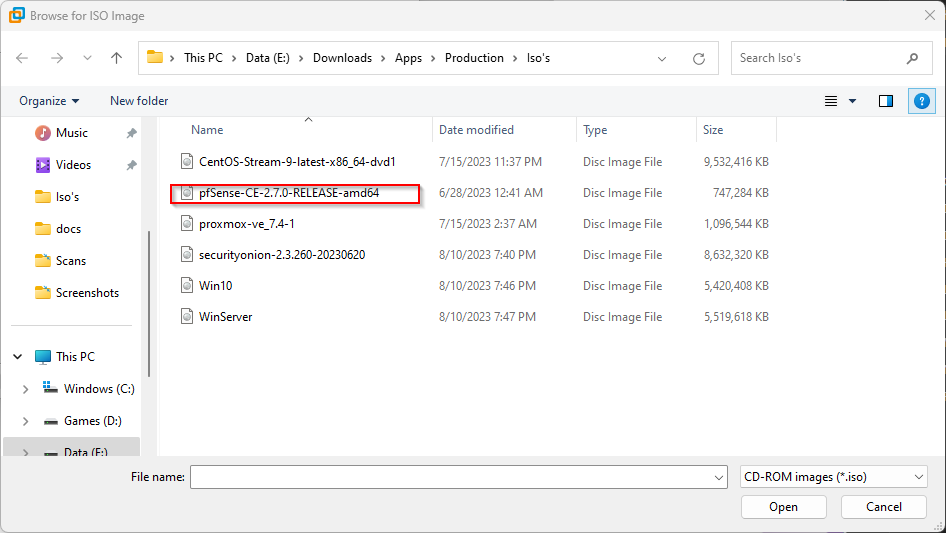
- Click “Installer disc image file (iso)” then
Browseand select your Pfsense ISO

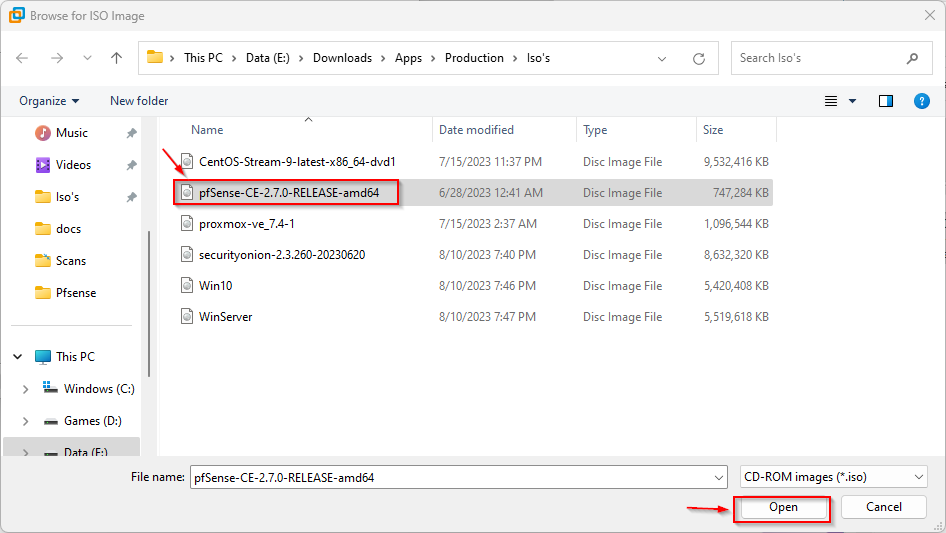
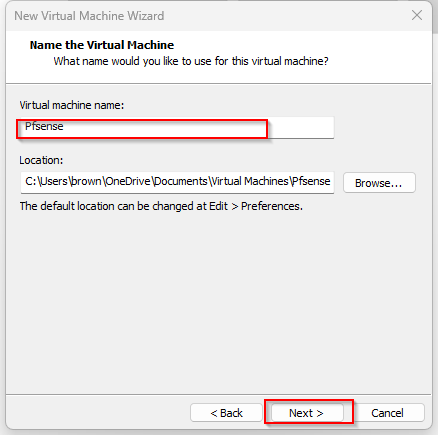
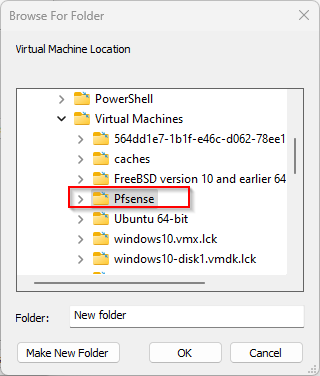
- Change the virtual machine name
Pfsense![2023-08-13 08_10_20-New Virtual Machine Wizard.png]()
![2023-08-13 08_13_13-Browse For Folder.png]()
![2023-08-13 08_13_48-New Virtual Machine Wizard.png]()
![2023-08-13 08_14_18-New Virtual Machine Wizard.png]()
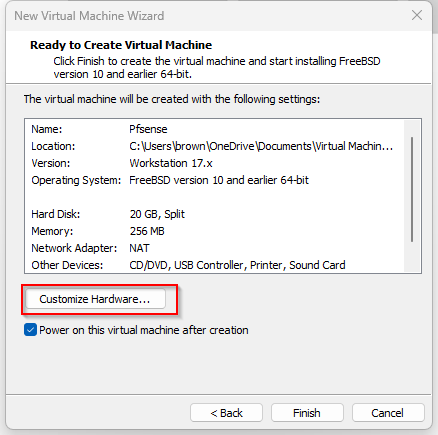
- Click
Customize Hardware![2023-08-13 08_14_57-New Virtual Machine Wizard.png]()
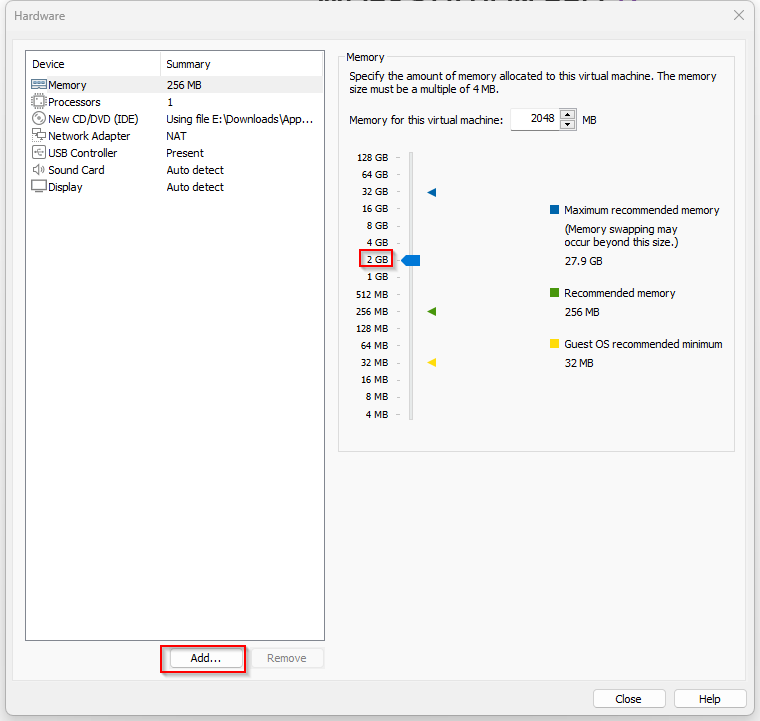
- Increase the memory to
2GBand clickadd![2023-08-13 08_15_42-Hardware.png]()
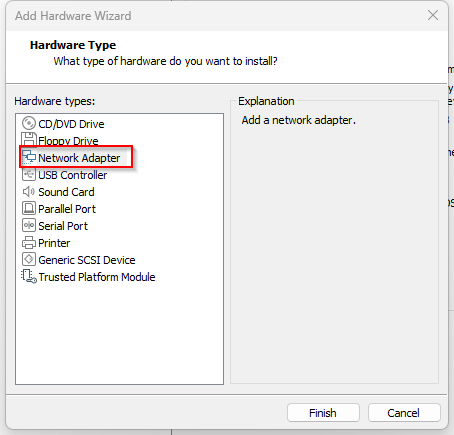
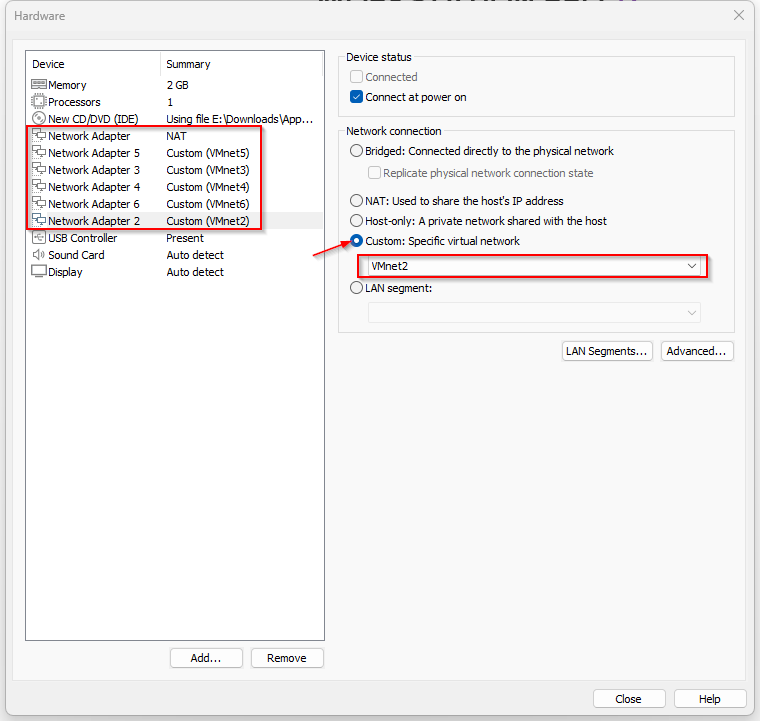
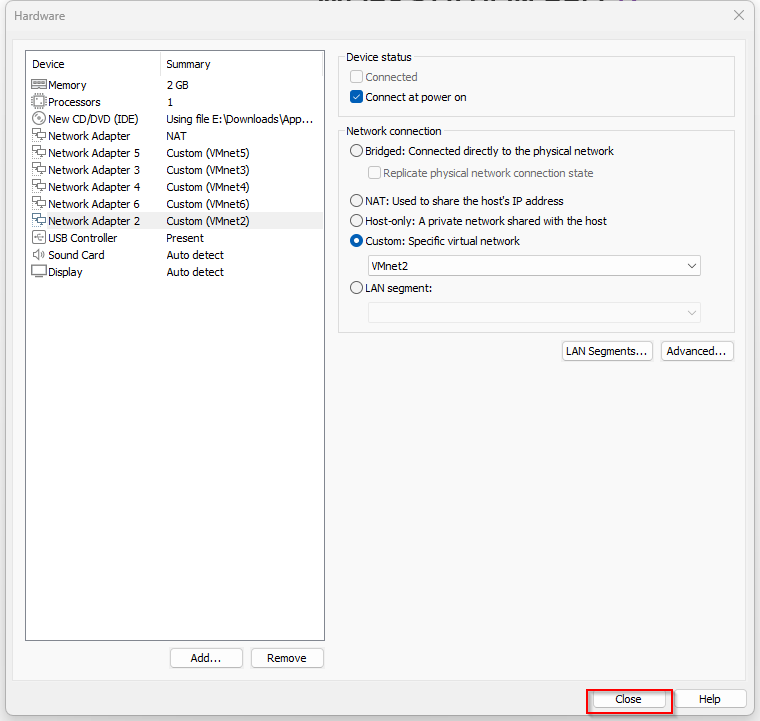
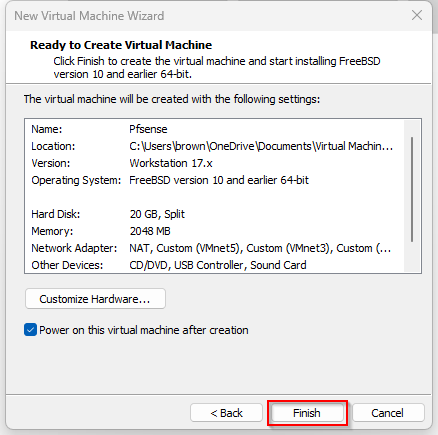
- Add 5 network adapters and correspond them with a VMnet interface as shown below then click
Finish

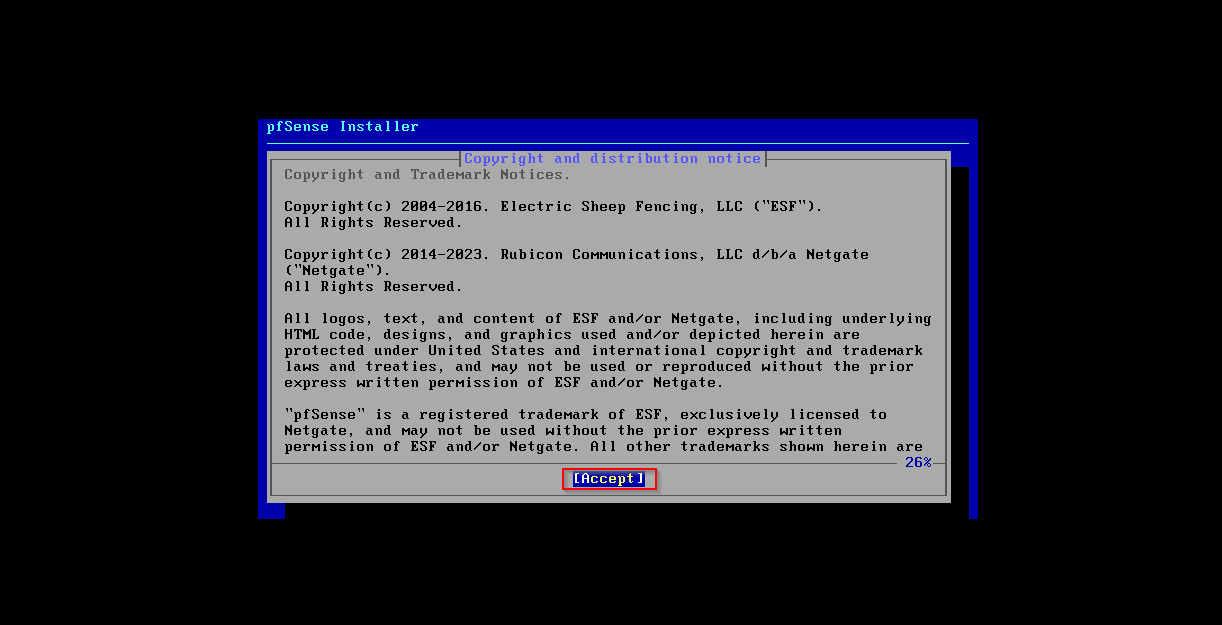
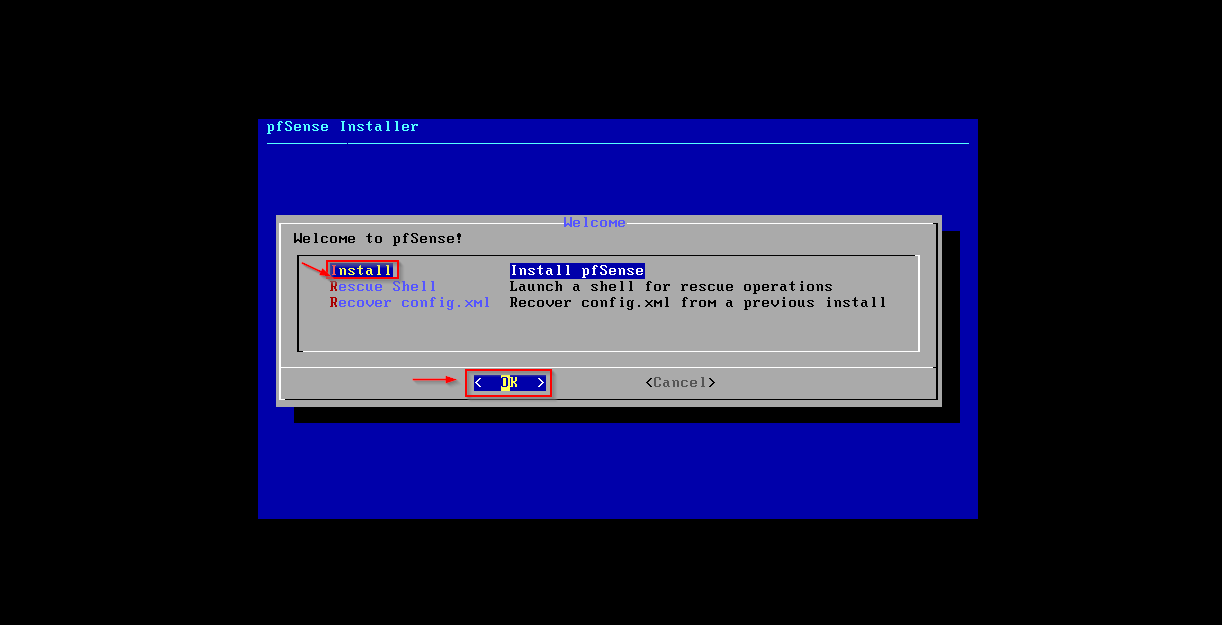
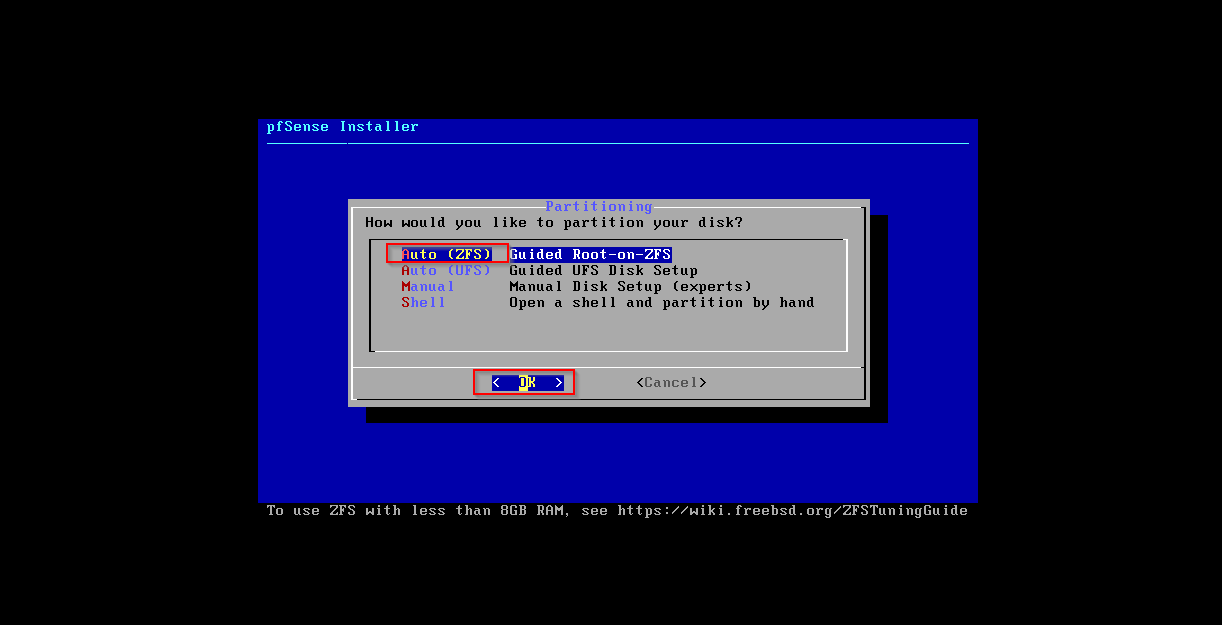
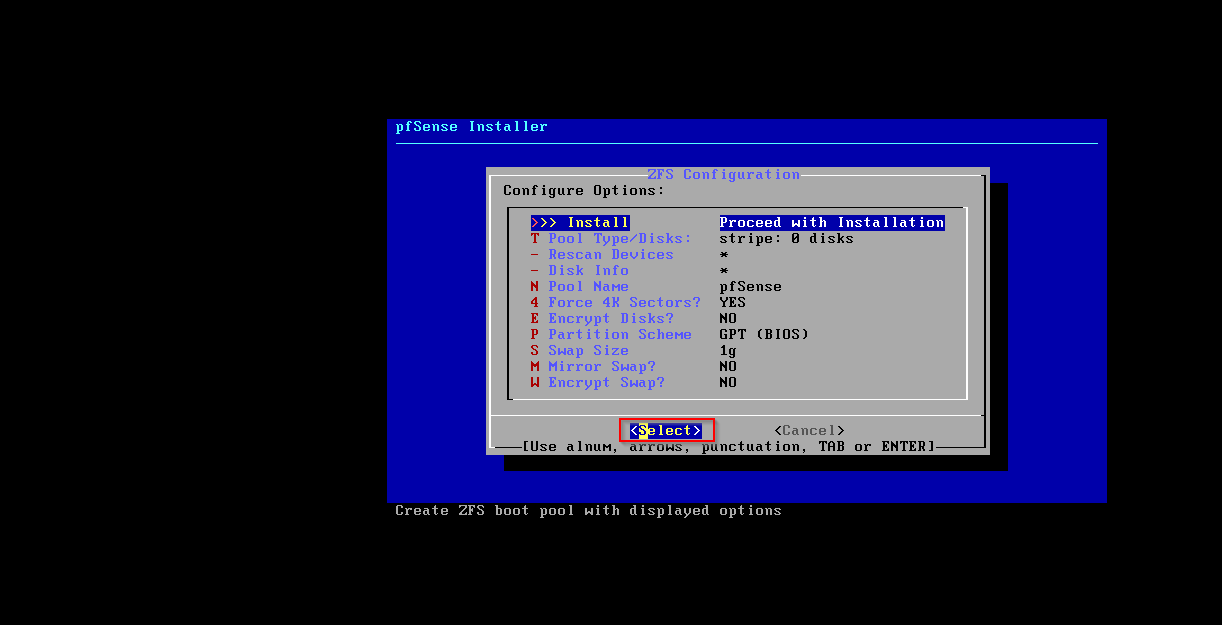
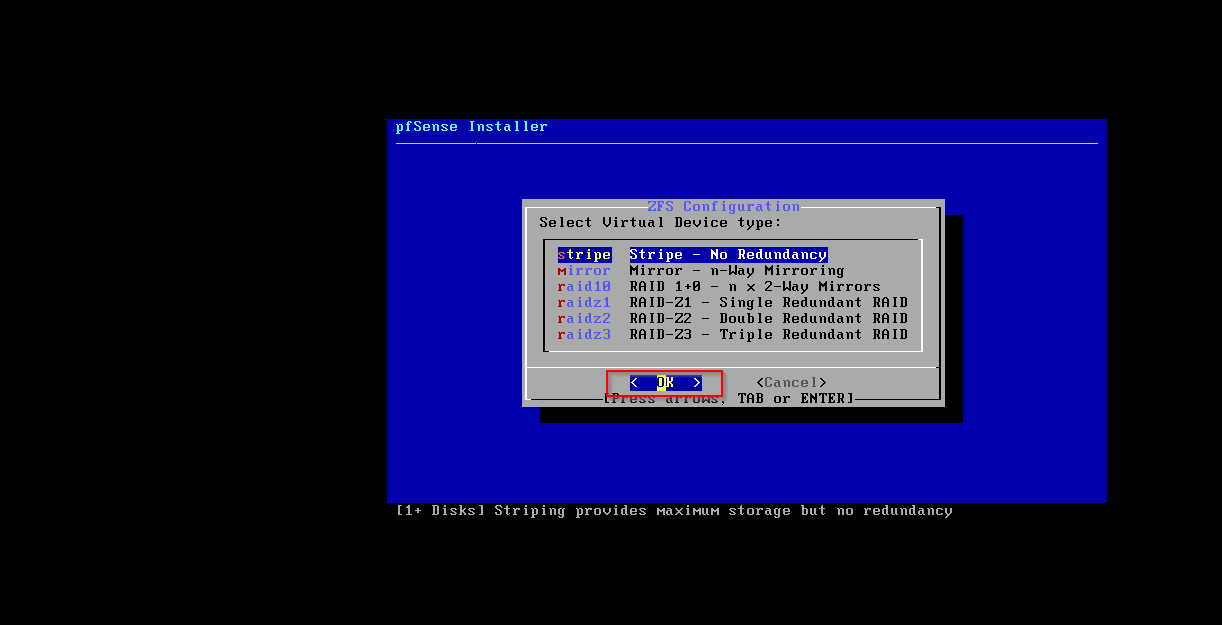
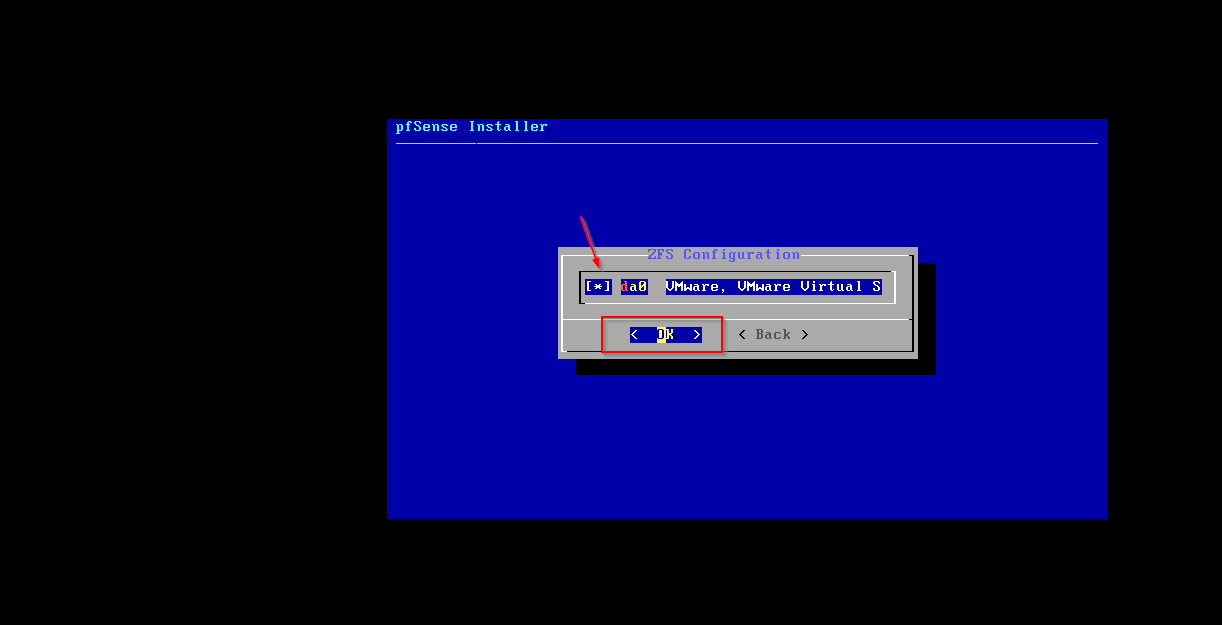
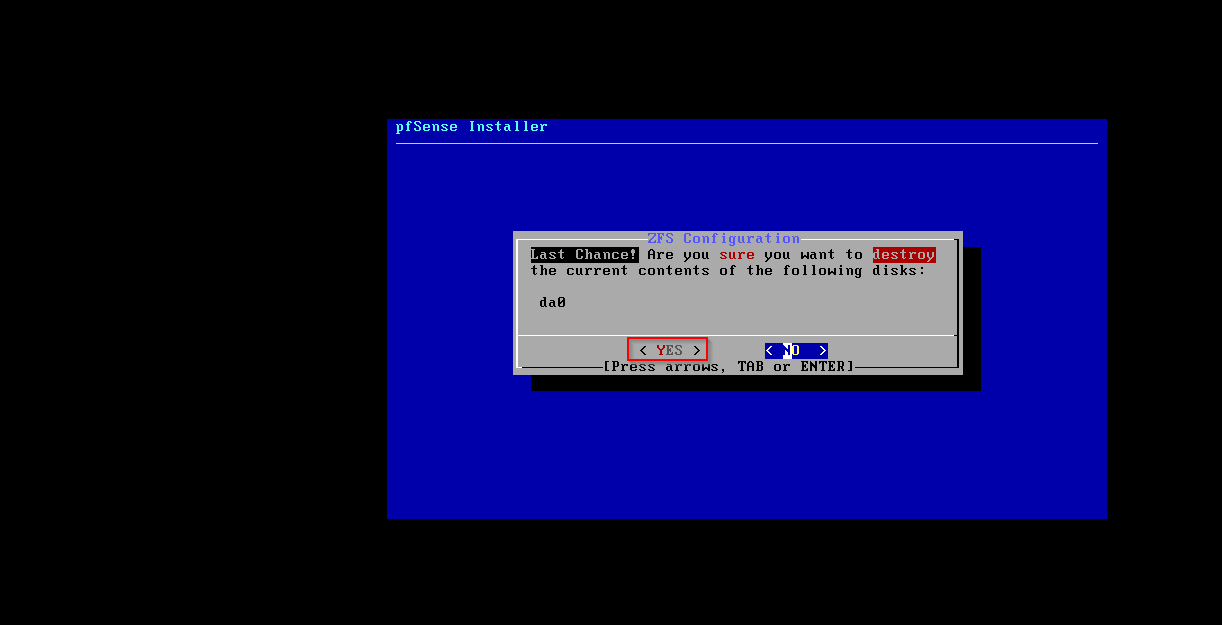
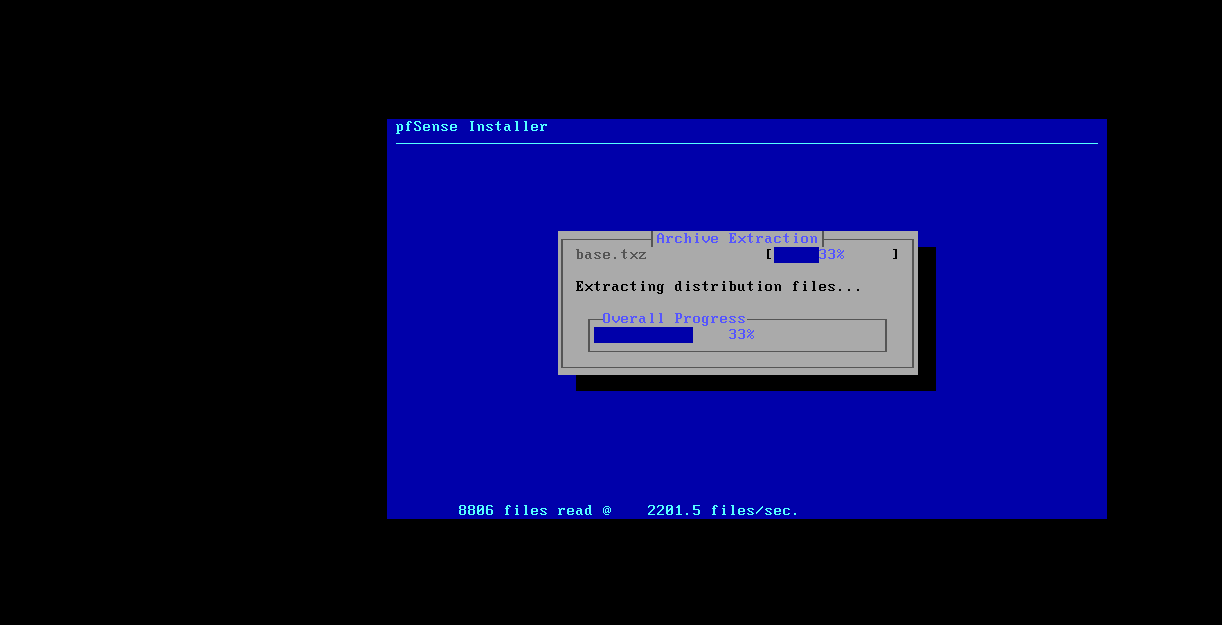
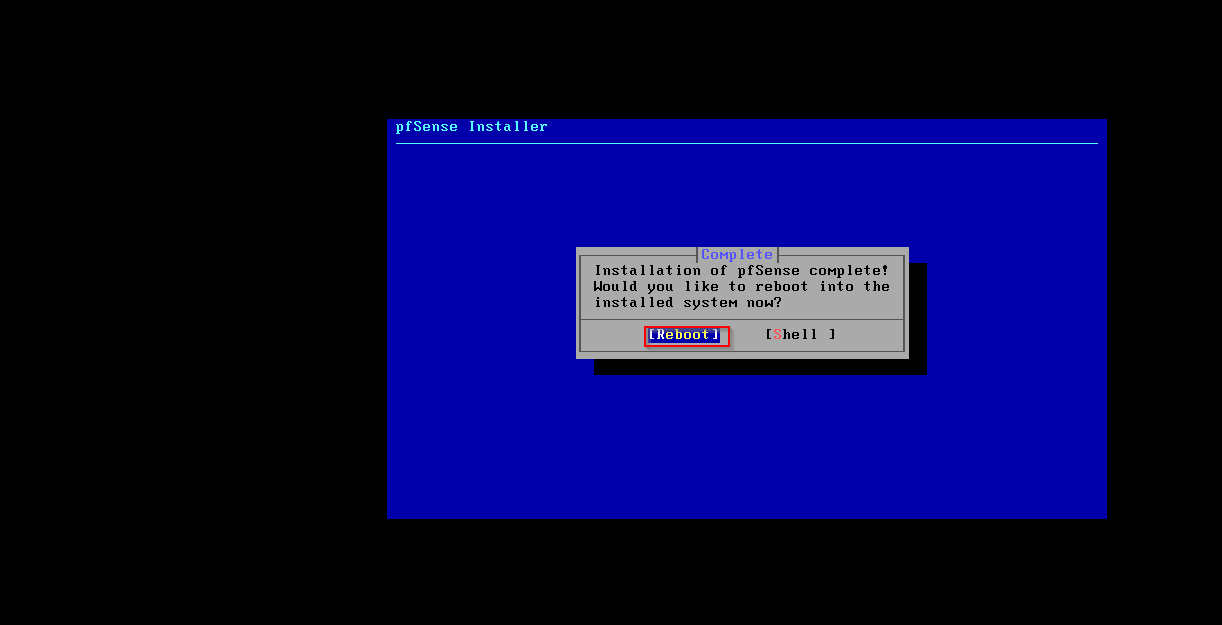
- The PfSense machine will be powered on, and you should proceed by accepting all the default settings before rebooting.
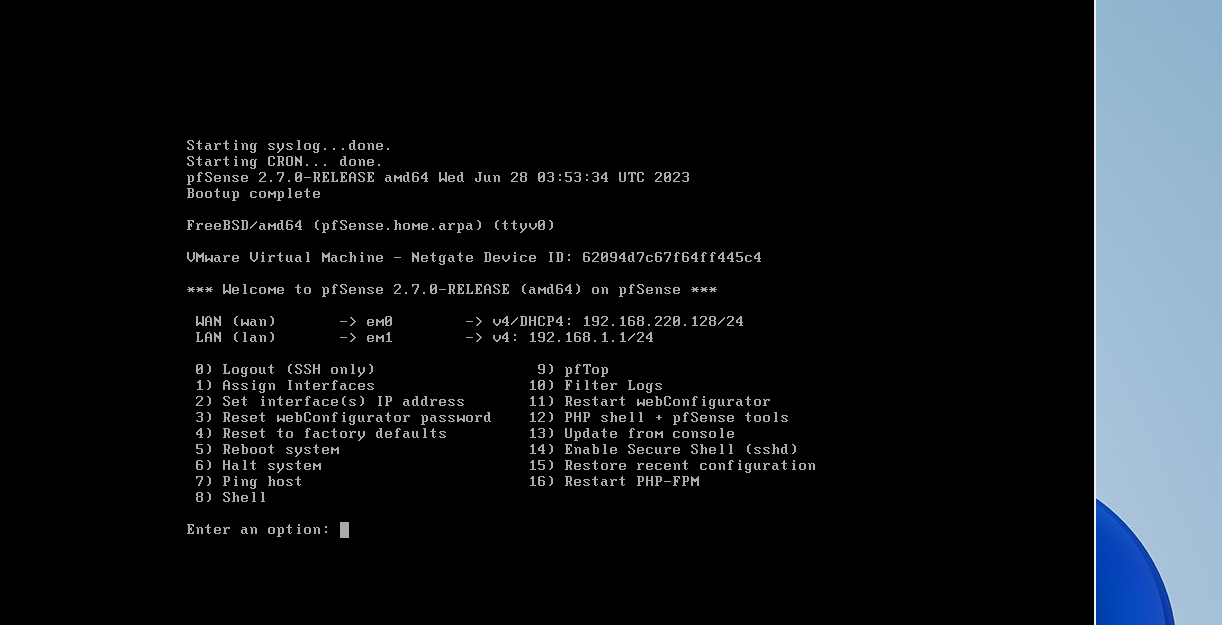
- Following the reboot, we should be presented with this screen. Proceed by inputting option
1.![2023-08-13 08_36_54-.png]()
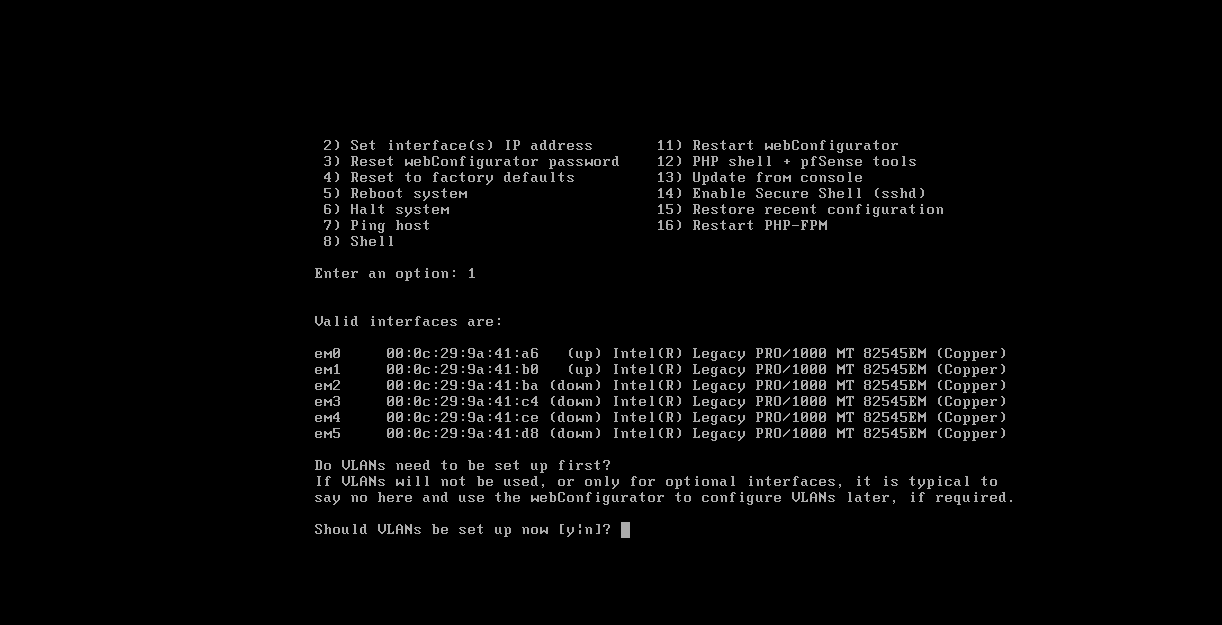
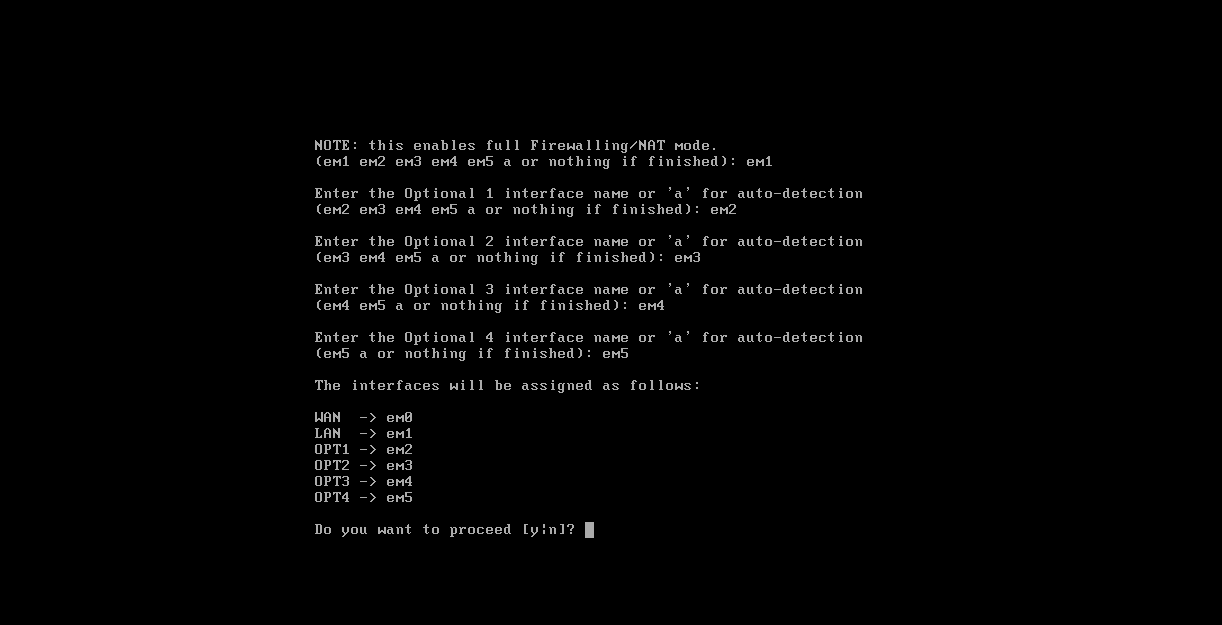
- Should VLANS be set up now[y:n]?
nEnter em0, em1, em2, em3, em4, em5, in the order given for each subsequent question.![2023-08-13 10_23_34-.png]()
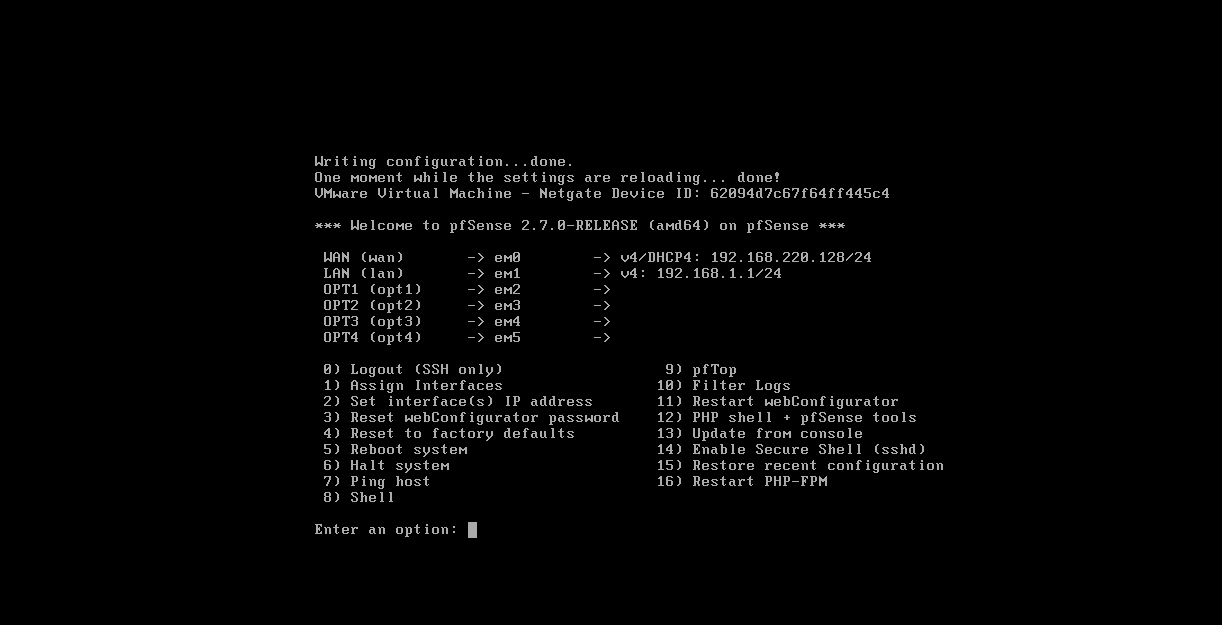
- Type
y![2023-08-13 10_25_14-.png]()
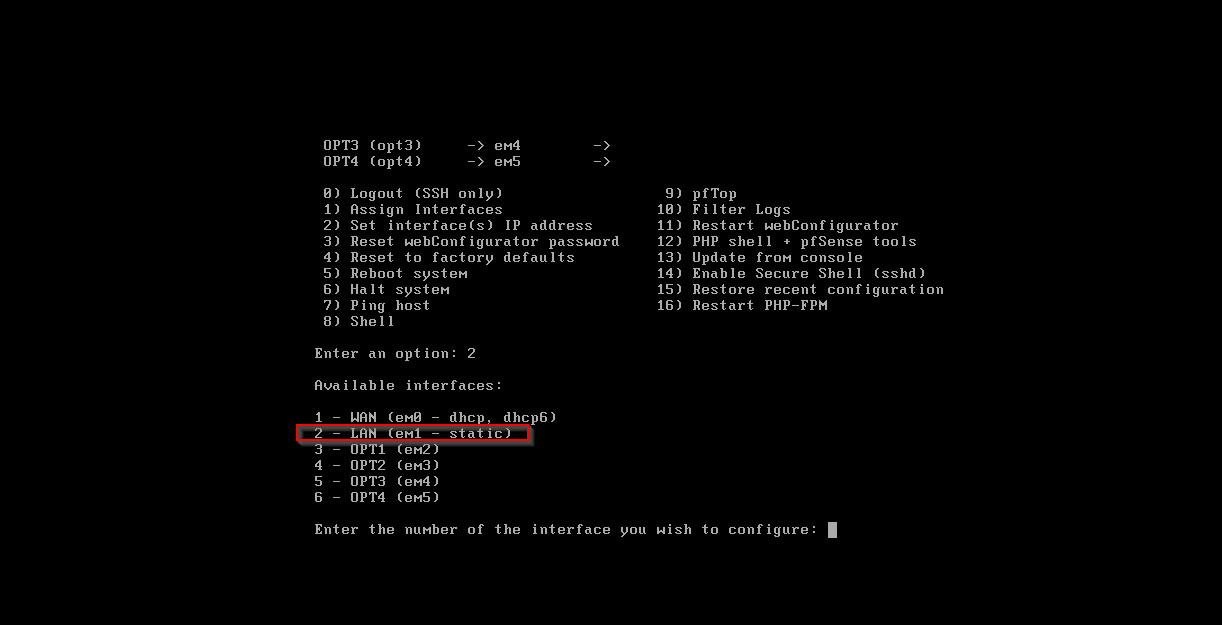
- Enter option
2![2023-08-13 10_32_56-.png]()
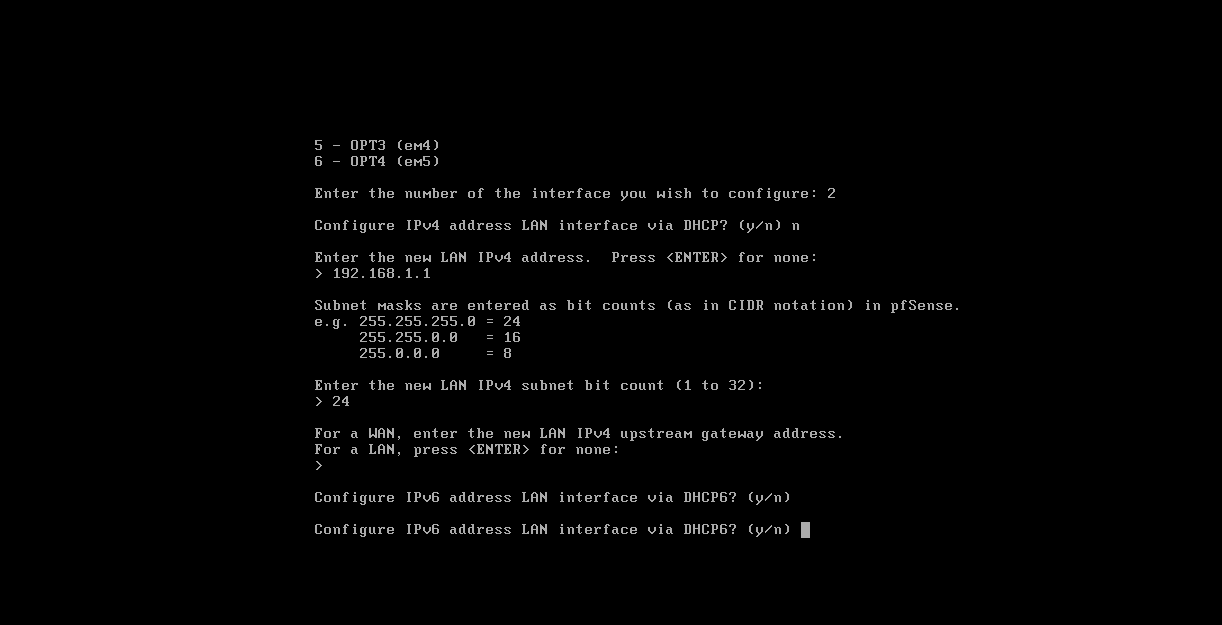
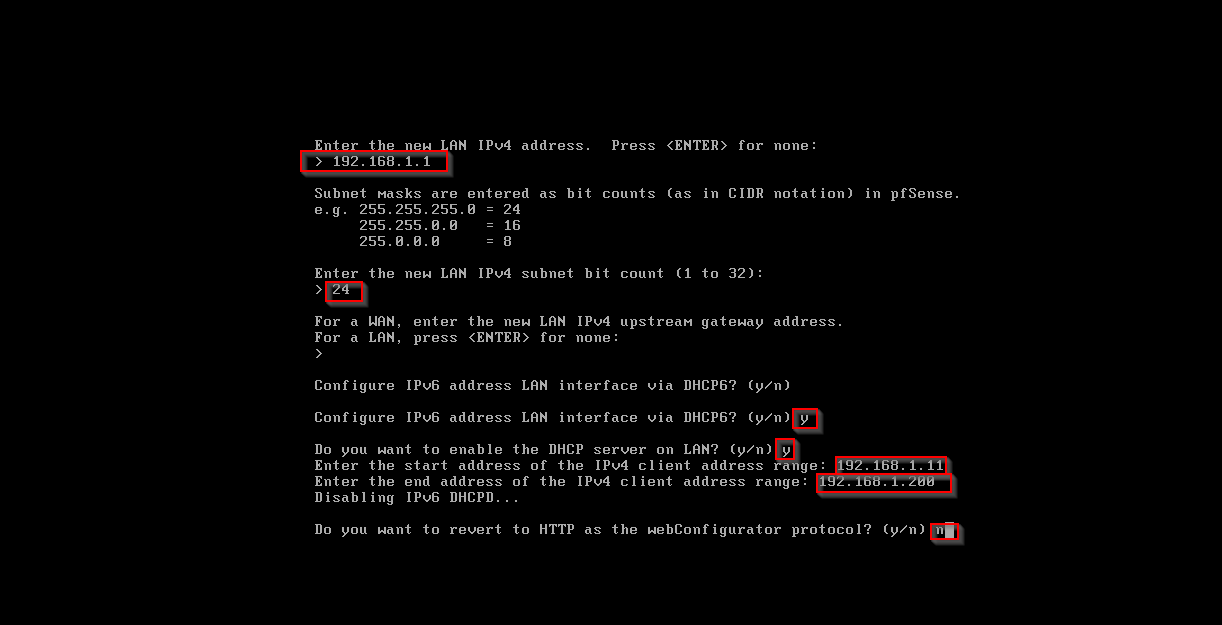
- Select the LAN Interface
2![2023-08-13 10_35_50-.png]()
![2023-08-13 10_39_26-.png]()
![2023-08-13 10_40_32-.png]()
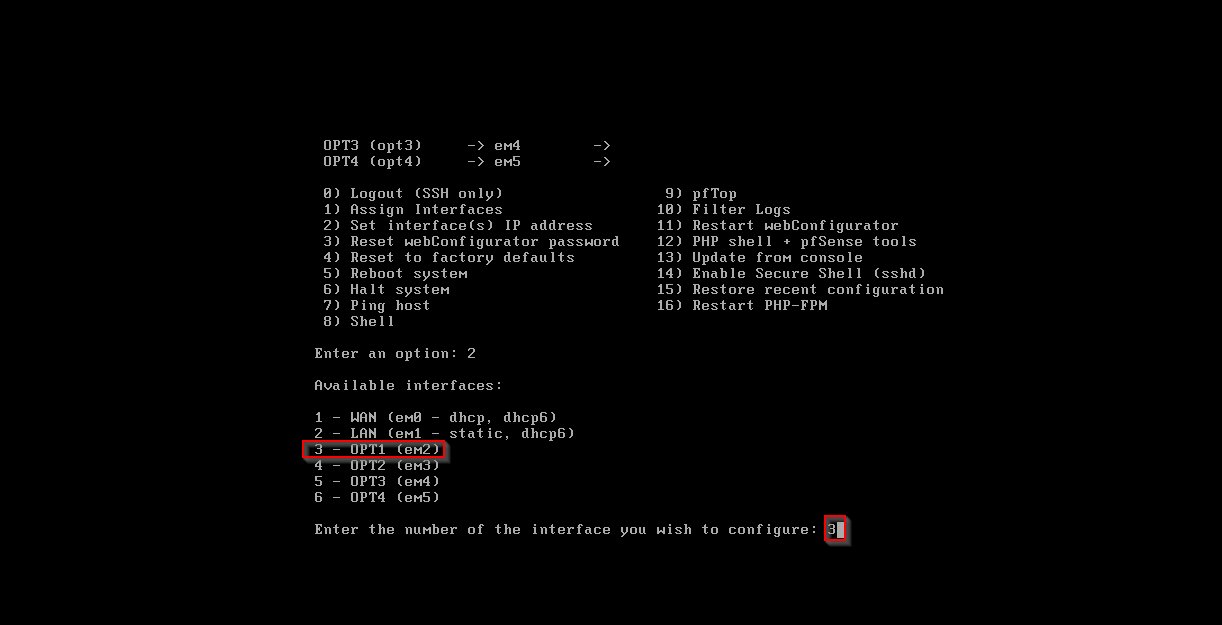
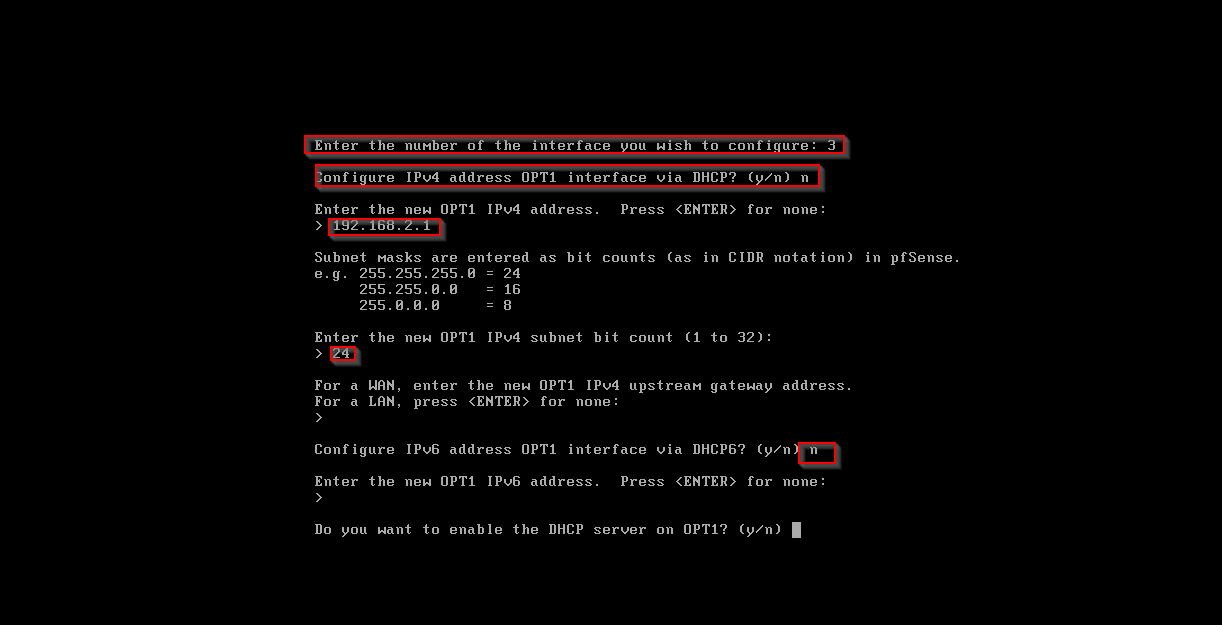
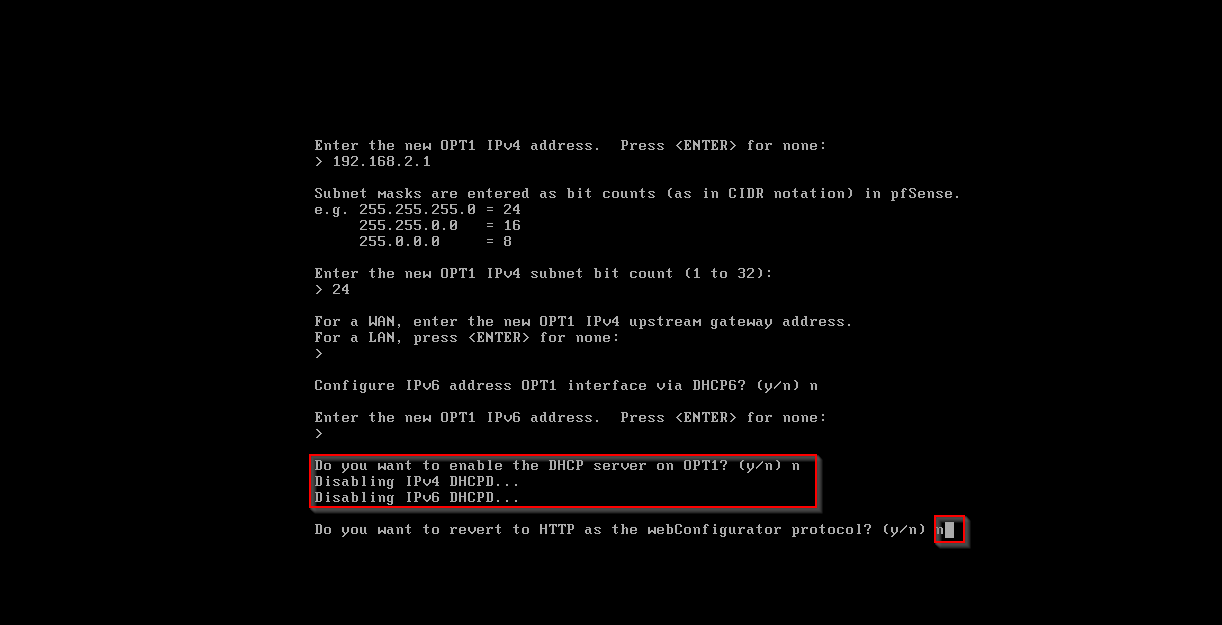
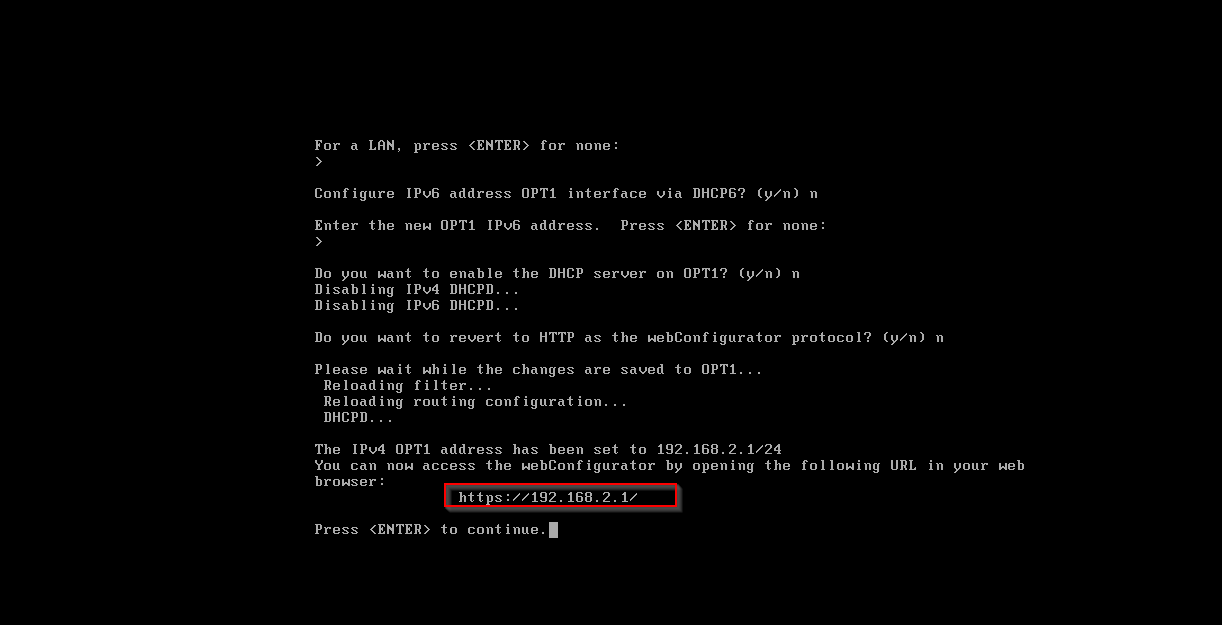
- OPT1 Use the Configuration below set the IP
192.168.2.1CIDR Notation24![2023-08-13 10_45_31-.png]()
![2023-08-13 10_50_50-.png]()
![2023-08-13 10_52_06-.png]()
![2023-08-13 10_52_39-.png]()
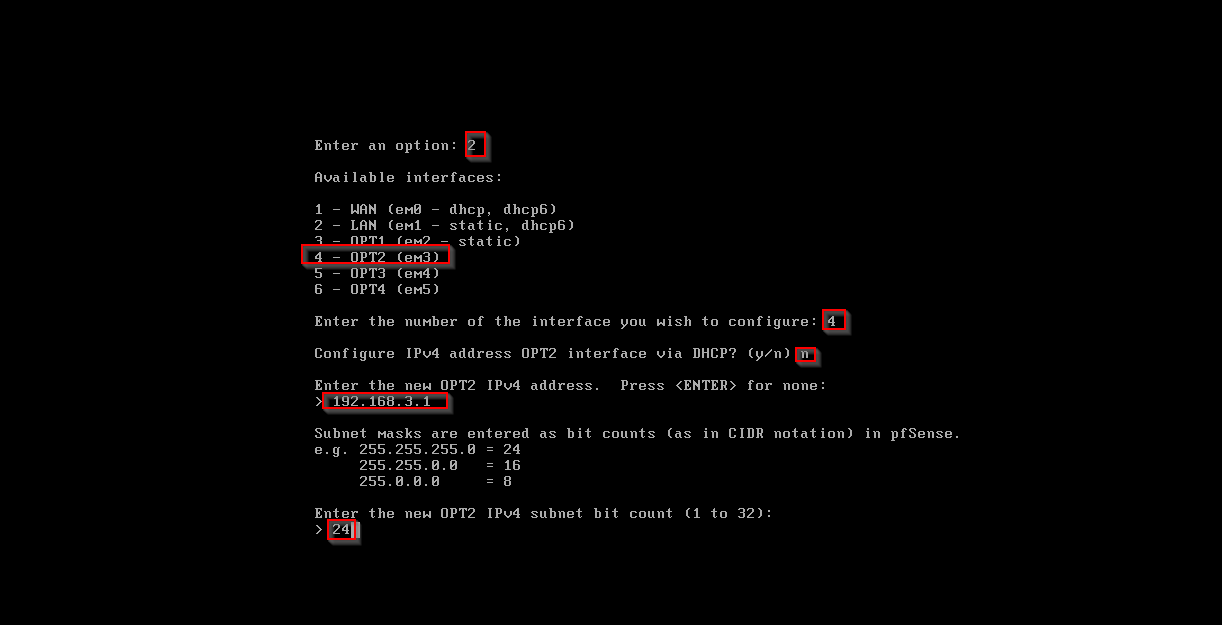
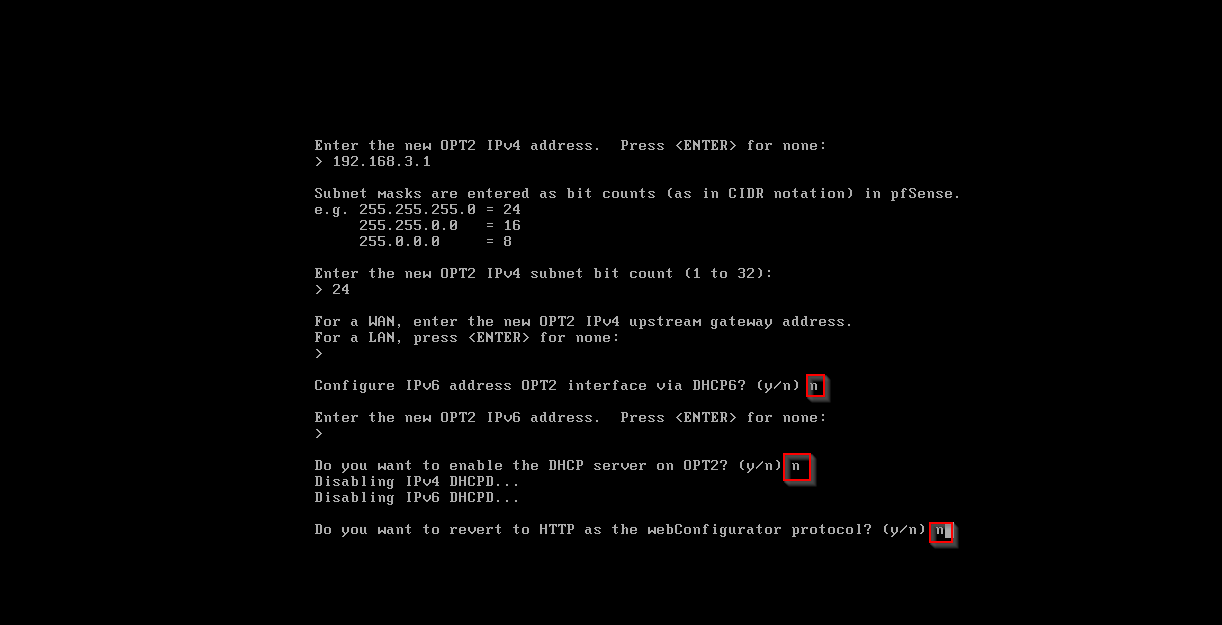
- OPT2 Use tje following configuration below use the IP
192.168.3.1CIDR Notation24![2023-08-13 10_56_38-.png]()
![2023-08-13 10_57_57-.png]()
- Keep the OPT3 interface without an assigned IP address, as it will be utilized for the span port containing traffic monitored by Security Onion.
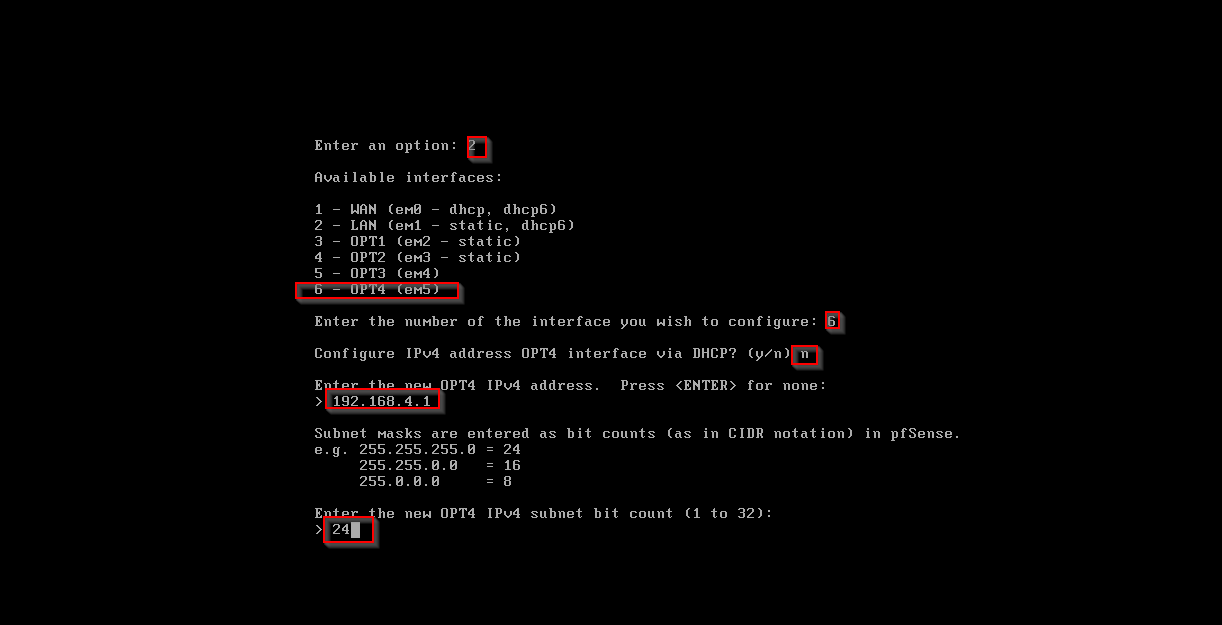
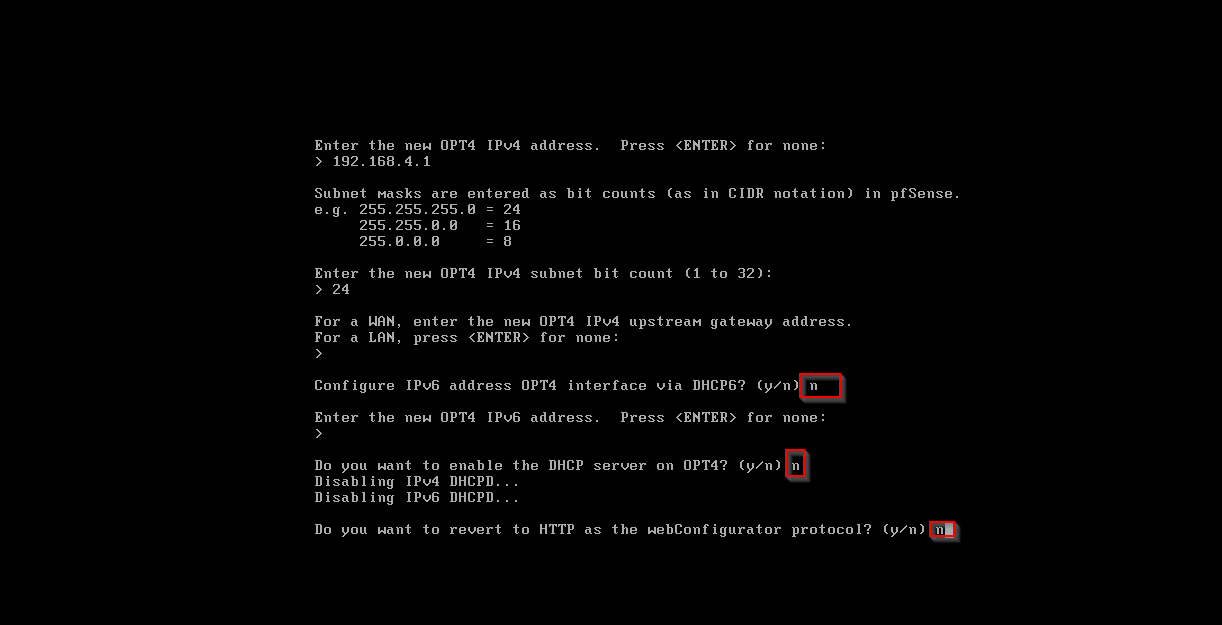
- OPT4 use the following configuration below use IP
192.168.4.1CIDR Notation24![2023-08-13 11_02_37-.png]()
![2023-08-13 11_03_49-.png]()
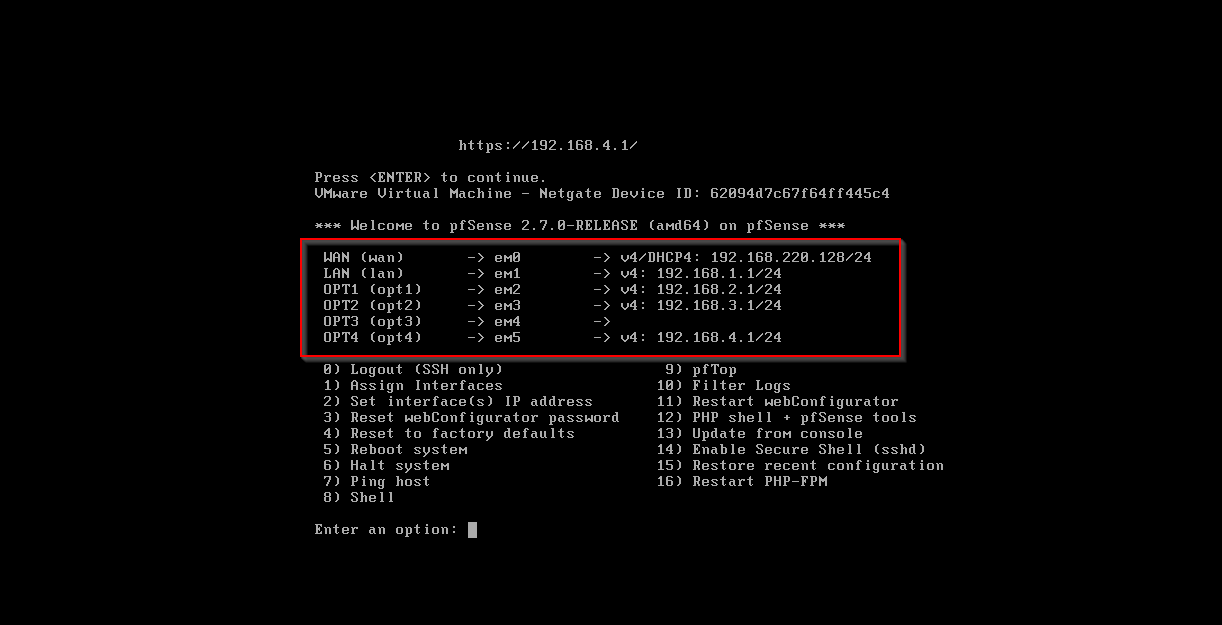
- It should look something like:
![2023-08-13 11_05_02-.png]() This marks the completion of the PfSense VM configuration. Moving forward, the remaining configuration steps will be managed from the Kali machine, utilizing the WebConfigurator interface for the necessary adjustments and setups.
This marks the completion of the PfSense VM configuration. Moving forward, the remaining configuration steps will be managed from the Kali machine, utilizing the WebConfigurator interface for the necessary adjustments and setups.